Add Users to Specific Locations
This help article will show you how to add new contacts and grant them access to only specific locations/departments. Before someone can view a location you manage, they must be granted app access to that location. This can be easily done by adding a new Contact and specifying the appropriate permissions.
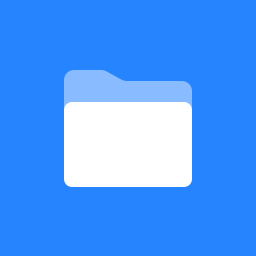
Open the Contacts screen via ☰ → CONTACTS.
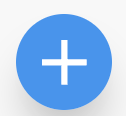
Select the + button to being creating a new contact.
Fill in the contact’s details, such as their name, phone number and email address and desired language.
💡 Be sure to double-check the email address is correct.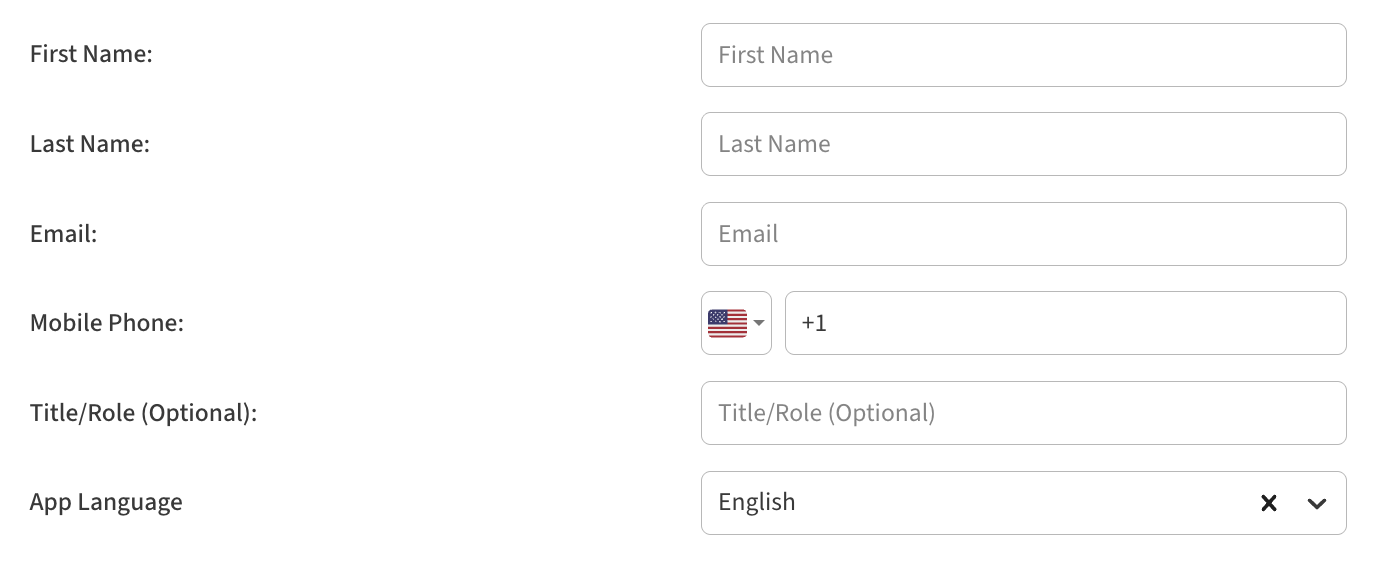
Under Access, pick which locations the user will be granted app access to, and what their permission level should be for each location.
Can View: Contact will be invited to see the details of the location, but cannot make changes. Can View users can still set corrective actions and notes.
Can Edit: Contact will be invited to help manage the location, including making changes such as adding/editing/removing devices, alerts, reports and sensor maps.
Owner: Contact has Can Edit permission and can also modify other Contact permissions, including inviting additional Contacts to the location.

Tap Save to save the contact. A pop-up will appear asking if the contact should be added to all existing and future alerts and reports as a default recipient, and via email, text message, or both.
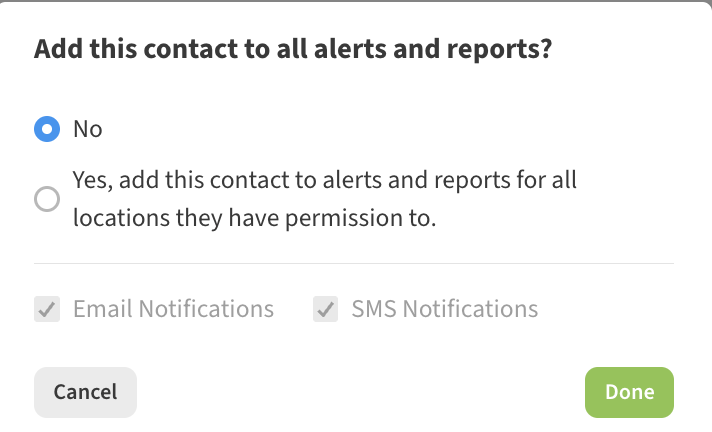
Choosing Yes here will add the user to all existing alerts and reports associated with those locations and set them as a Primary Contact for those locations which ensures they will be a default recipient on any future alerts/reports set up there.
Choosing No won’t add them to any alerts or reports, but they can still be added in the future to any number of alerts and reports.
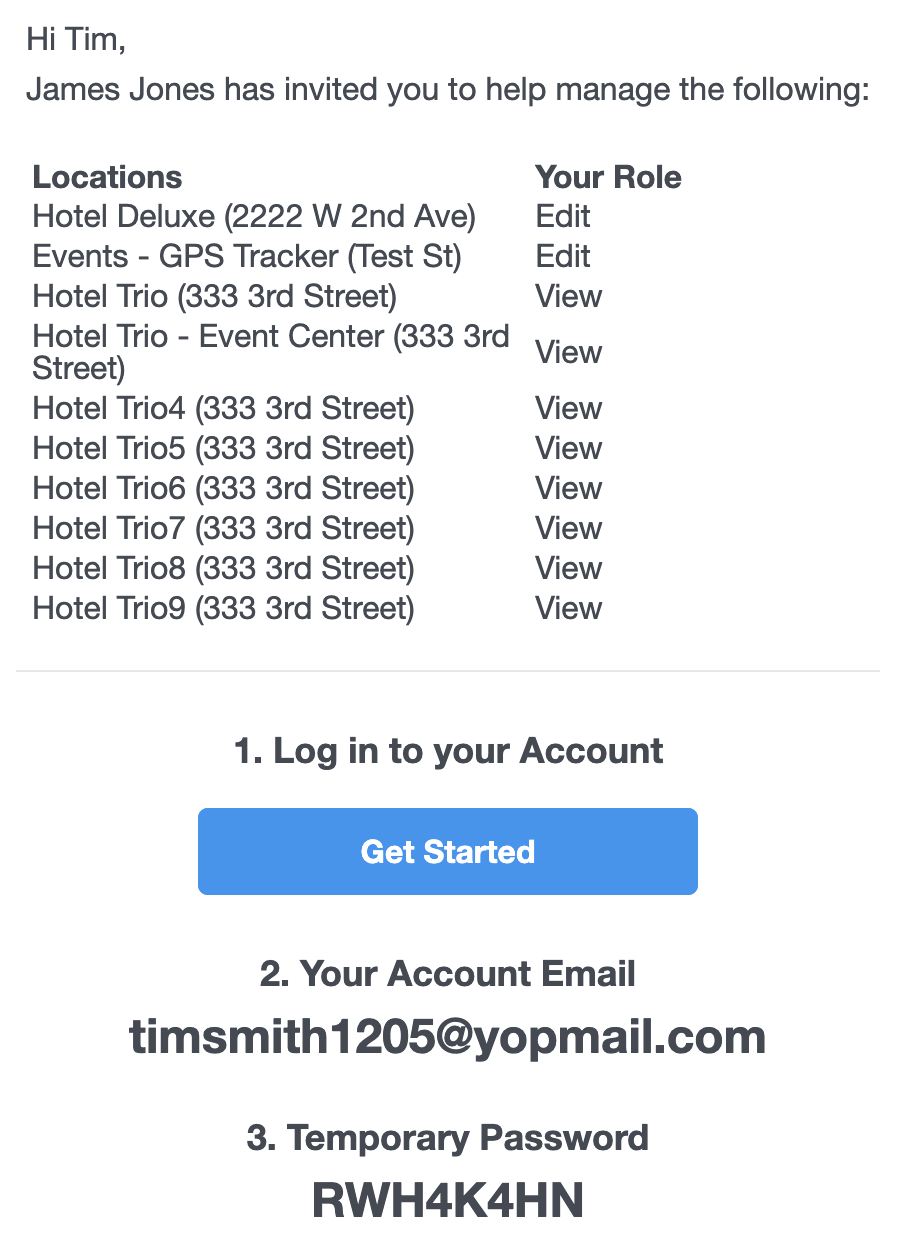
Once saved, the person will receive an an email inviting them to access the location(s):