
Adjust how often sensor transmits readings
This feature requires downlink support by the hardware as well as a template in our system which defines what intervals are allowed. If you do not see an option to adjust interval on the device’s settings tab, please contact support.
Sensors are designed to run for extended periods at their default intervals - adjusting intervals to very frequent values can negatively affect battery longevity and may affect RMA replacement.
Adjust sensor Reading Intervals
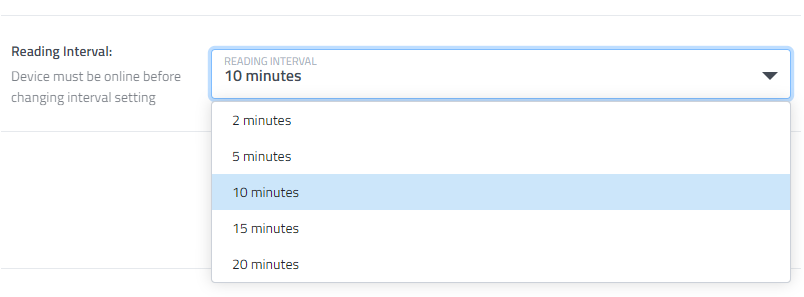
Many sensors transmit on a fixed interval, like every 20 minutes, or once an hour. For these sensors their Reading Interval (how often a new reading is transmitted) can be adjusted from the device's Settings tab.
From the Manage screen, click or tap on the device you want to adjust the Reading Interval for.
Go to the Settings sub-screen.
Change the interval option to reflect how often you want the device to send readings.
Click the green Save button to save your change.
Sensors must be online and transmitting regularly for downlink commands to be successfully sent to the sensor. You cannot change the interval of an offline sensor, as we cannot communicate with it.
For most sensors (LoRa Class A - generally battery powered) the change will take effect when the sensor sends its next uplink. It may therefore take some time for the sensor to acknowledge and transition to the new setting. For example, a sensor on a 1-hour interval may not ‘hear’ the request to change its interval for up to 1 hour.
For LoRa Class C sensors (generally AC powered), they are always listening and should accept the command within seconds.
Adjusting the Reading Interval for multiple sensors at once
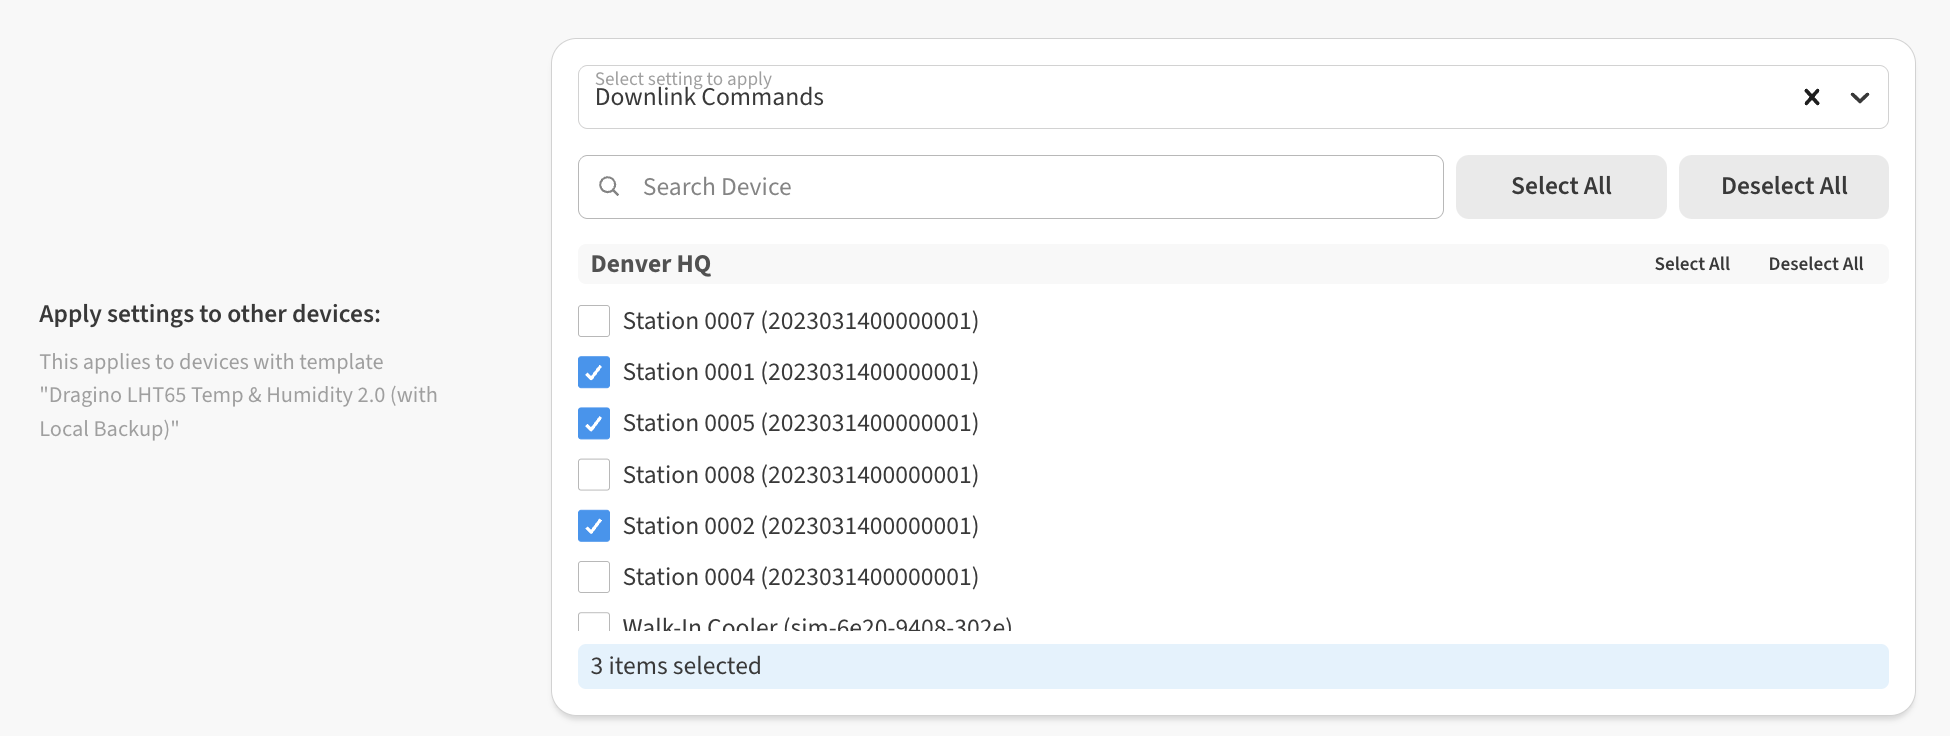
You can adjust the Reading Interval multiple sensors at once by using the Apply Settings to Other Devices option.
On the Settings tab, adjust the Reading Interval for one of the sensors
In the the Apply Settings to Other Devices area, choose Downlink Commands and then select the checkboxes for the devices you’d like to apply the same Reading Interval to.
Finally, Save your changes with the green Save button in the lower-right.