Use the following instructions to have your IoT events sent to your Azure IoT Hub account.
Creating a new IoT Hub integration
Use the following steps to setup a new Azure IoT Hub integration.
Create a new device in IoT Hub
-
Log into your Azure IoT Hub account and open your hub.
-
Select IoT devices.
-
Select New to start creating a new device.
-
Give the device a name and select Save.
Get the Device Connection String
-
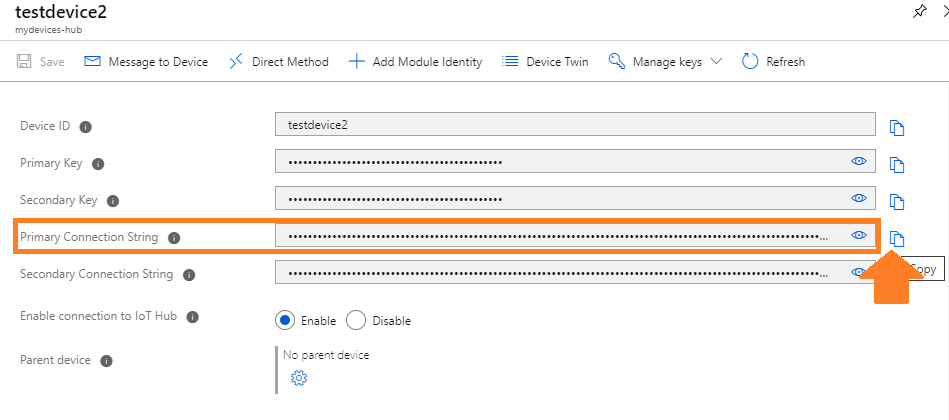
Select your device from within IoT Hub.
-
On the screen that appears, copy the Primary Connection String. You will need this string when creating the integration in your account.
Add integration in your IoT account
-
Log into your IoT dashboard account where all of your devices are located.
-
Go to ☰ → INTEGRATIONS and then select the Azure IoT Hub integration.
-
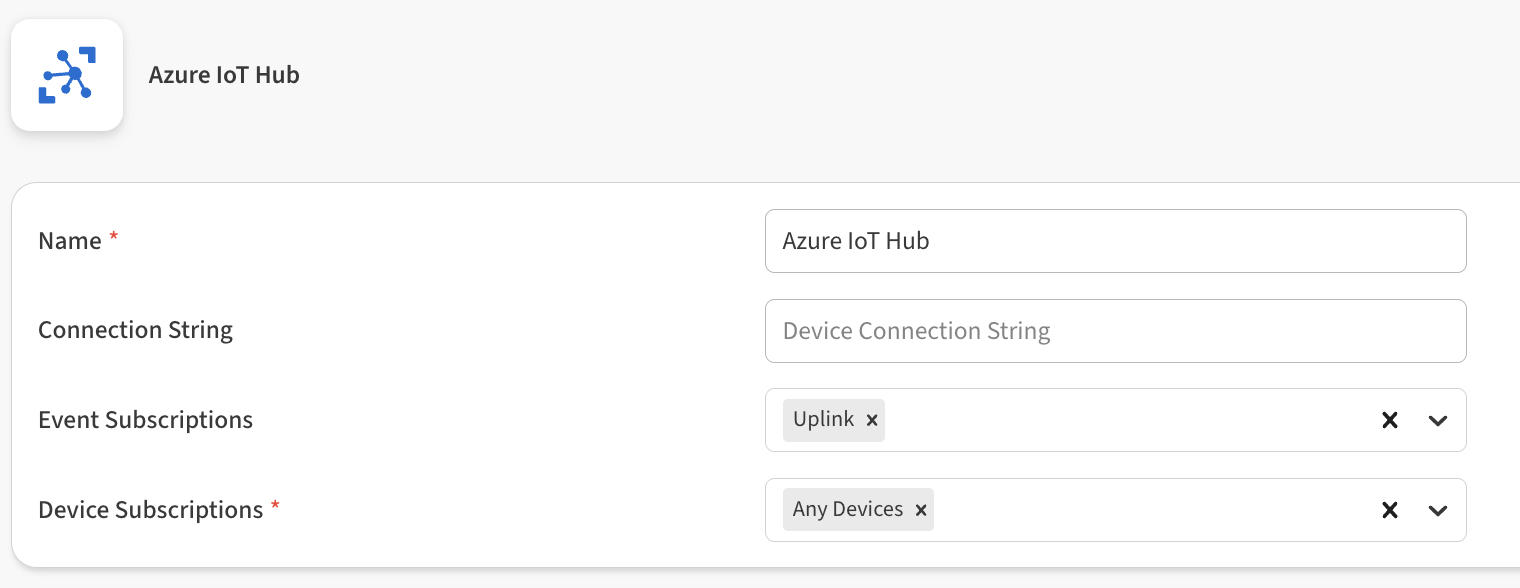
Enter the following information to complete the integration:
-
Name: Enter a name for this integration. In case you have multiple integrations, this will help uniquely identify it in the list.
-
Connection String: Enter the Primary Connection String for your device on IoT Hub (as obtained previously above).
-
Event Subscriptions: In this field you can select whether your integration should pass sensor data received (uplink), gateway keepalive (ping), and alert events.
-
Device Subscriptions: In this field you can select specific devices for the integration to monitor. By default All Devices are selected.
-
-
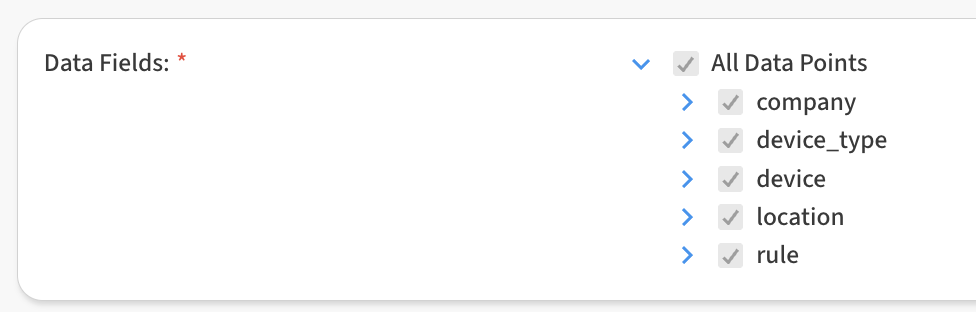
In the Data Fields area, you can customize the specific data points passed by the integration. By default all fields are selected.
-
Click Save Azure IoT Hub to finish.
After saving the Integration, you will see it shown in your list of integrations.
-
You can then edit the integration to make any changes needed.
-
You can also toggle the Integration on/off at any time from here as well. Disabling the integration will stop new data from being sent to IoT Hub.
Verifying things are working
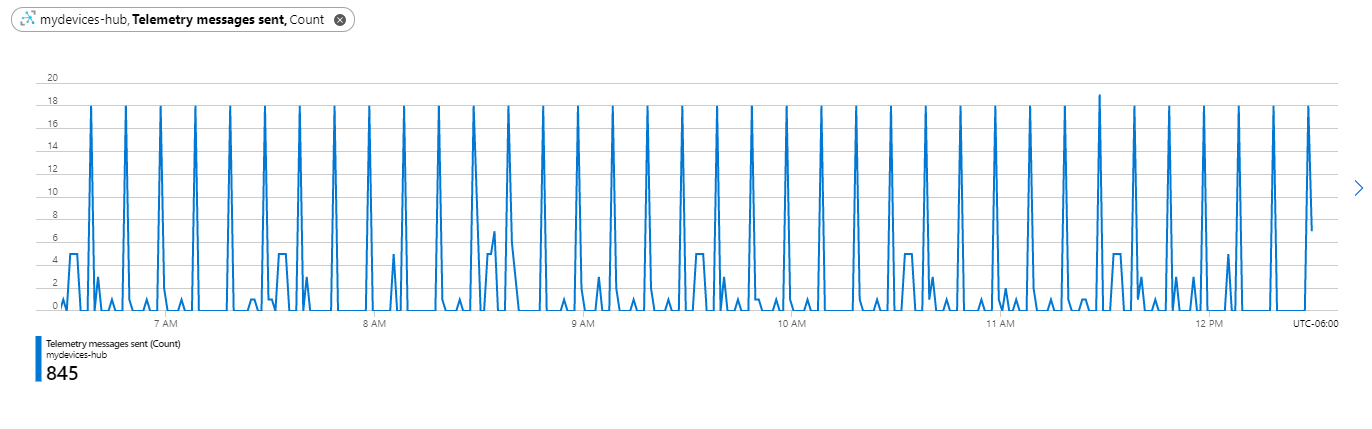
You can verify the integration is working by opening your Azure IoT Hub and viewing the metrics.