

The Zapier Webhook Integration allows you to keep device data synced between your business applications and our API. Zapier acts as a forwarding layer that watches for new device alerts and notifications, and will send updates to a configured business application destination.
You will need a Premium Zapier account.
Creating a new Zapier Webhook integration (Zap)
-
You will need a Premium Zapier account. If you do not have one, click here and create one.
-
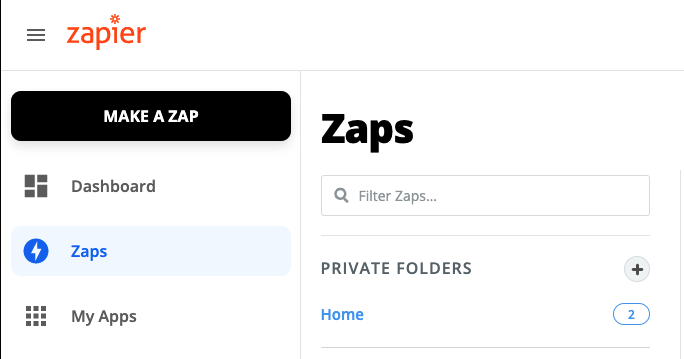
Login to your Zapier account and select Make a Zap in the lefthand side.
-
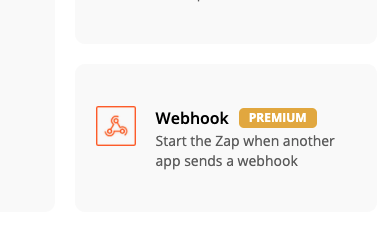
Select Webhook (Premium) as your trigger source.
-
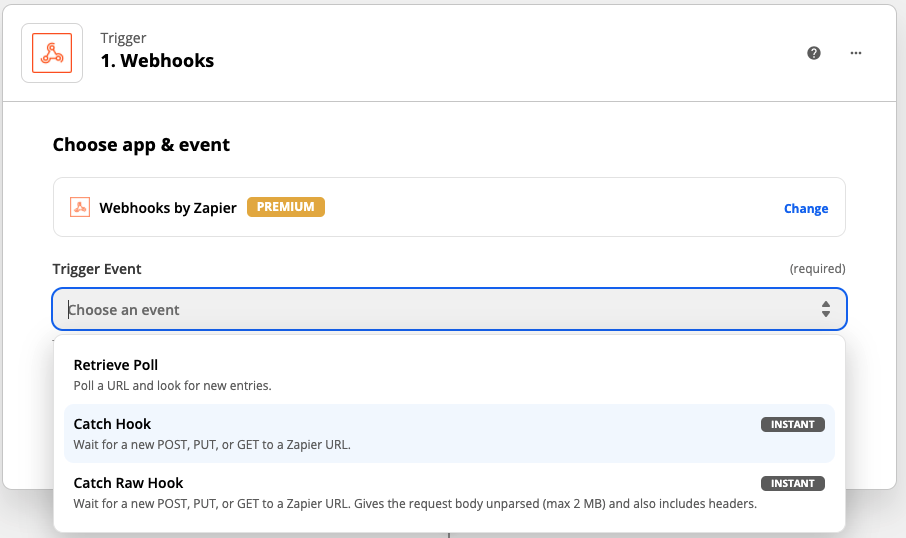
For Trigger Event select "Catch Hook".
-
During setup, you can choose to receive an empty body response for the Webhook.
💡 Check this box if you do not need a response from Zapier when sending data (most common configuration).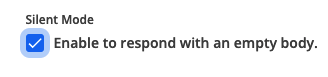
-
Copy the generated Webhook URL.

-
Log into your IoT Dashboard account where your devices are located.
-
Go to ☰ → INTEGRATIONS and then select the Zapier Webhook integration.
-
Paste the generated URL from Zapier in the Url field.
-
Optionally, customize the webhook with the following fields:
Event Subscriptions: In this field you can select whether your integration should pass sensor data received (uplink), gateway keepalive (ping), and alert events.
Device Subscriptions: In this field you can select specific devices for the integration to monitor. By default All Devices are selected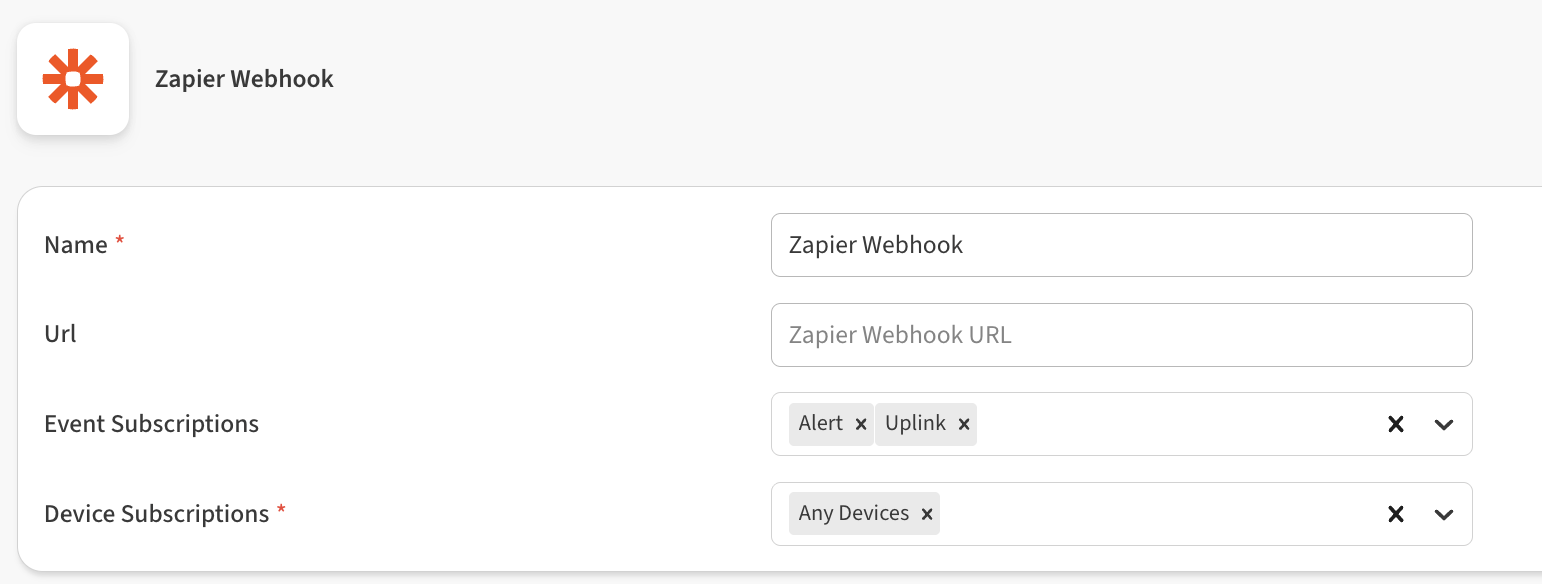
-
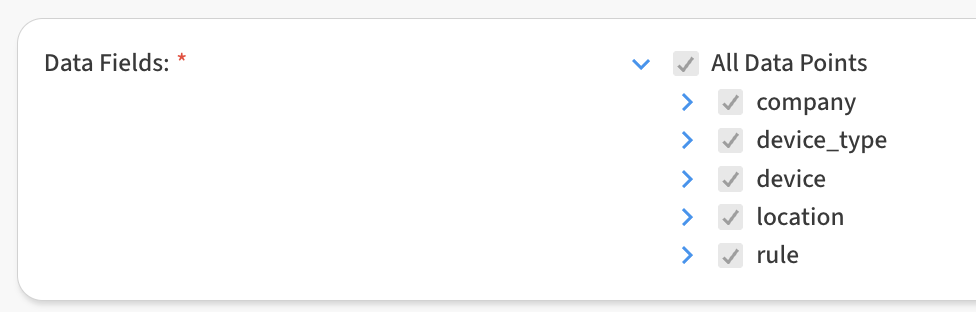
In the Data Fields area, you can customize the specific data points passed by the integration. By default all fields are selected.
-
Click Save Zapier Webhook to save the integration.
You should see a new inegration added to your integrations list.
Configuring the new Zapier Webhook integration (Zap)
-
Return to Zapier and click Continue
-
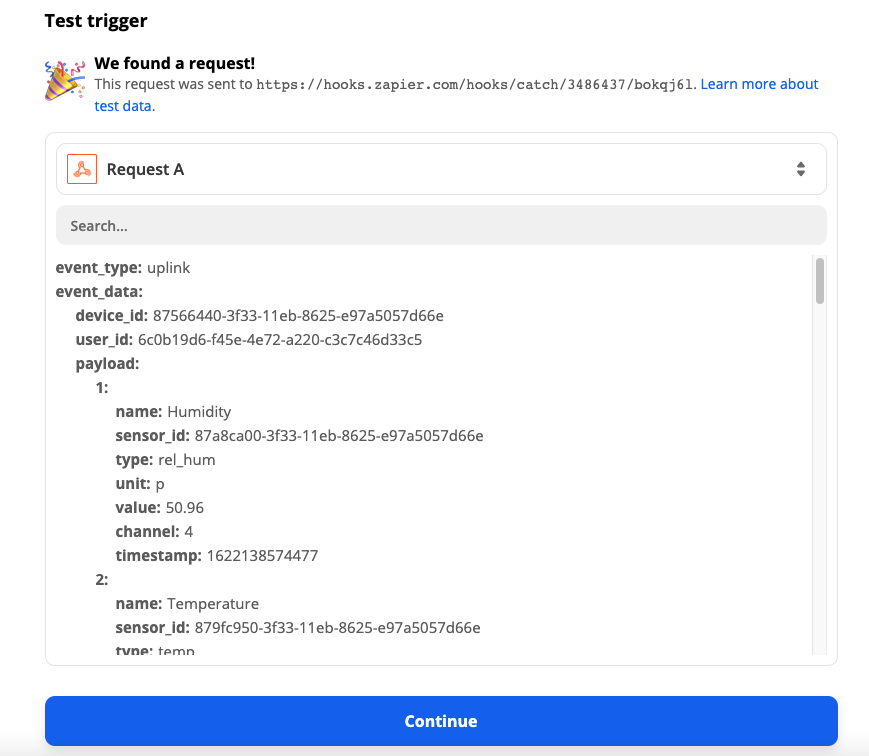
Clicking Test Trigger should show new requests once your subscribed device emits another alert / notification. It may be instant or delayed, depending on how frequently the selected device delivers alerts.
-
Click Continue once you have a passing trigger test.
-
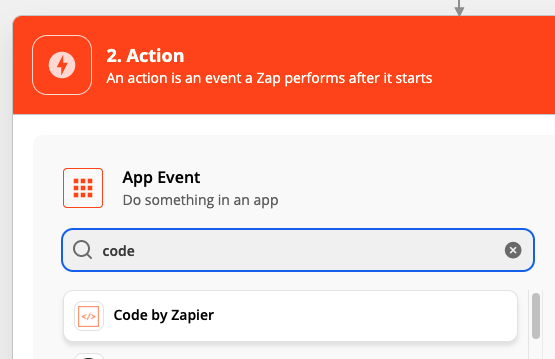
In the Action prompt, search for "Code by Zapier" and select it.
-
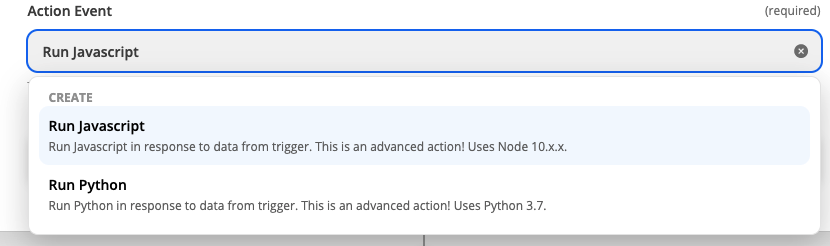
In the "Action Event" field, select Run Javascript then click Continue
-
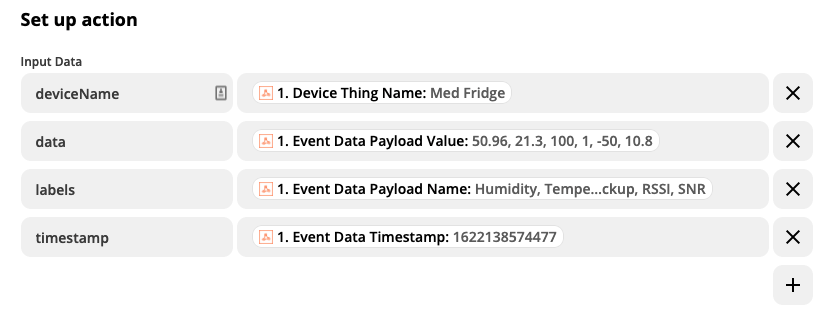
In the "Set up action" step, you need to add four standard fields to "Input Data" that Zapier will use to map the data from the API to the destination app. These fields include
deviceName,data,labels, andtimestamp. Here is a description of each:-
deviceName: The name of the specific device your integration monitors. Can be selected from "Device Thing Name" in the dropdown field.
-
data: The data included in the device alert payload. Can be selected from "Event Data Payload Value" in the dropdown field.
-
labels: The labels associated with each piece of data. Can be selected from "Event Data Payload Name" in the dropdown field.
-
timestamp: The time at which the alert occured. Can be selected from "Event Data Timestamp" in the dropdown field.
-
-
In the "Code" section, you need to copy and paste a snippet of JavaScript code that performs the data formatting. Use this code snippet (do not modify):
// In order for Zapier to read our telemetry data correctly, // we need to reformat it so it can be used correctly in the selection // fields in the following step. This code does the reformatting for us. const parsedLabels = inputData.label.split(','); const parsedData = inputData.data.split(','); const formattedOutput = {} formattedOutput["Device Name"] = inputData.deviceName; parsedLabels.forEach((label, index)=>{ formattedOutput[label] = parsedData[index]; }) const UTCDate = new Date(parseInt(inputData.timestamps)); const formattedDate = UTCDate.toLocaleString("en-US", {timeZone: "America/Los_Angeles"}); formattedOutput['Event Time'] = formattedDate + ` PDT`; output = [formattedOutput]; -
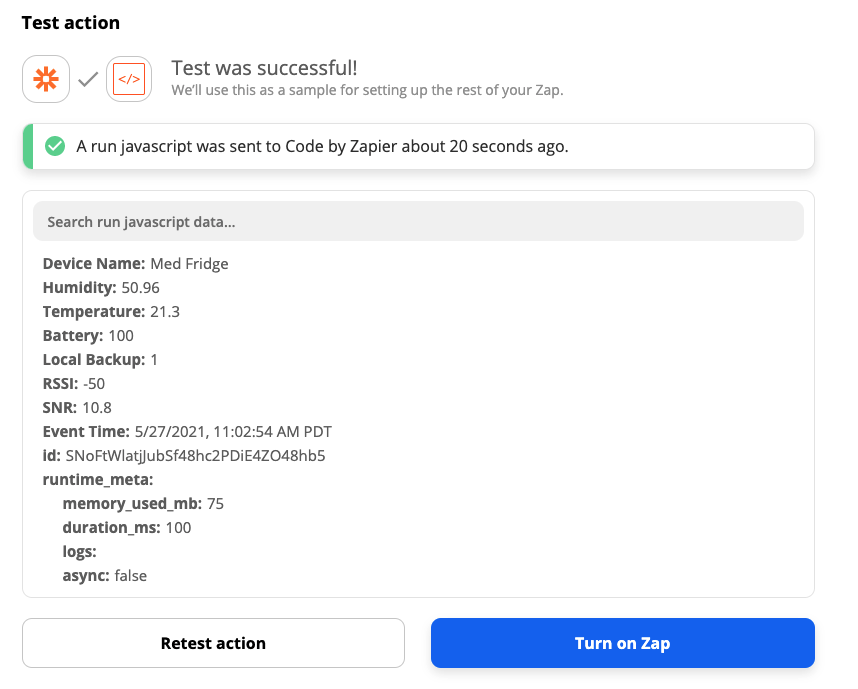
At this point you should be able to run a test of the code step and see the reformatted output.
-
Click the + symbol, and click Back to Setup. Now it's time to add the business application destination for the data. In this example we will use a Google Sheet integration.
-
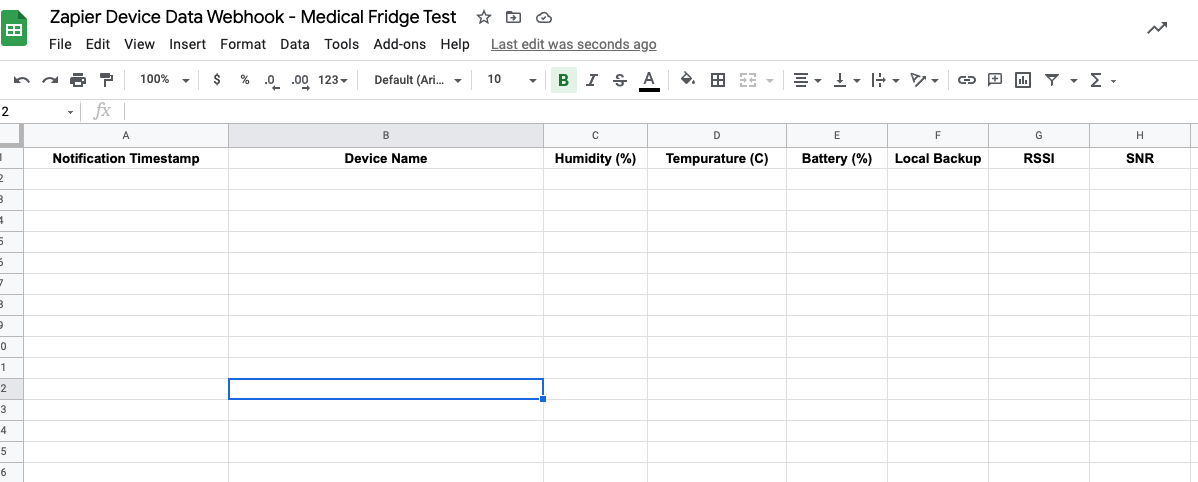
First, set up your Google Sheet the way you want to see your data represented.
-
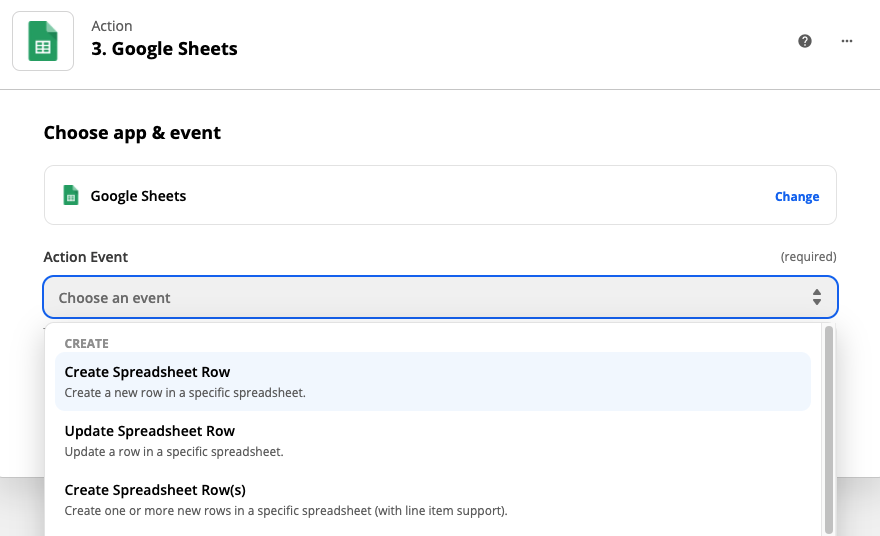
In Zapier, select "Create Spreadsheet Row" as the Action Event, then click Continue
-
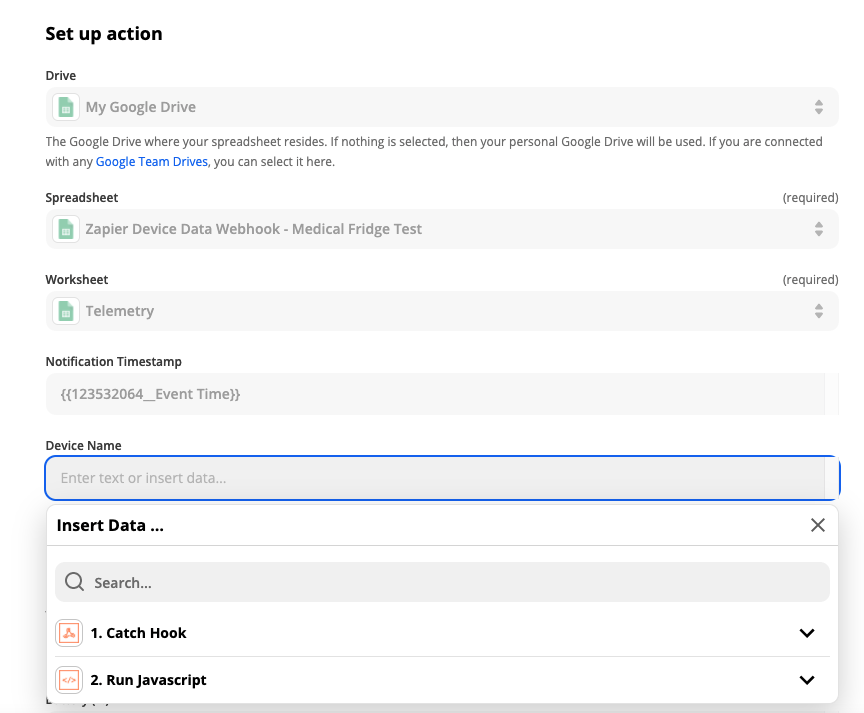
In the "Set up action" section fill in the Drive, Spreadsheet, and Worksheet you want to use. Then select each data field item from the Run JavaScript option.
-
With all selections made, click Continue.
-
In the "Test action" section, click Test & Review. You should see a success notification, and the sample output should be shown on the spreadsheet.
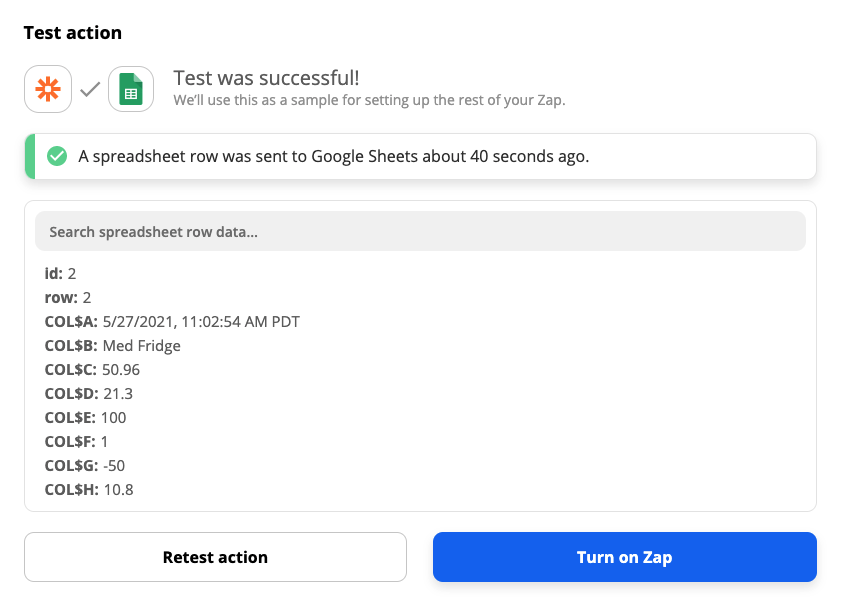

Click Turn on Zap, and you're done.